
Overview
Cloud instances (VPS) can be created from the Cloud Control Panel. You can access the control panel through the Client Area or directly at https://cloud.ramnode.com (check your cloud information email for login details).
💡 Tip: The Cloud Control Panel provides an intuitive interface for managing all your cloud resources.
Prerequisites
Before you begin, make sure you have:
Requirements
- • A RamNode cloud account
- • Access to the Cloud Control Panel
- • Decision on region and instance specifications
Access the Cloud Control Panel
Log in to the Cloud Control Panel using the credentials provided in your cloud information email.
Control Panel URL: https://cloud.ramnode.com
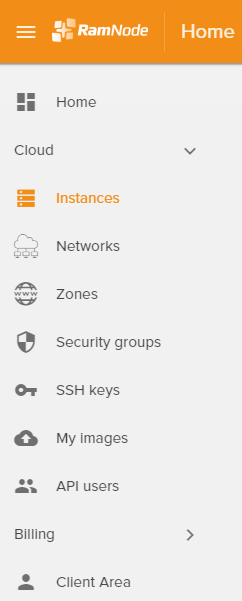
Navigate to Instances
Click the Instances tab on the left sidebar:
Create New Instance
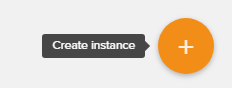
Click the orange + button at the bottom right corner of the screen:
Configure Instance Details
Enter your instance name and select a region to view available plans:

💡 Tip: Choose a region closest to your target audience for optimal performance.
Select Instance Flavor
Choose the desired instance flavor (plan) based on your resource requirements.
Consider the following resources:
- • CPU - Processing power for your applications
- • RAM - Memory for running processes
- • Storage - Disk space for your data
- • Bandwidth - Network transfer capacity
Network Selection
Select the appropriate network for your instance based on how you plan to assign IP addresses:
IPv4 Private
Select this option if you plan to use a Floating IP. The instance will receive a private IP, and you'll attach a floating IP separately.
IPv4 Public
Select this option for a statically-assigned IP. The instance will receive a public IP address directly.
💡 Tip: Floating IPs are useful when you need to quickly reassign IP addresses between instances, such as during failover scenarios.
Choose Boot Source
Select the boot source (operating system image). You have two options:
Cloud-init Images
Pre-configured images for quick deployment
ISO Installation
Install your operating system from scratch
Configure SSH Access (Optional)
Upload or create an SSH key pair for secure passwordless SSH login.
✅ Recommended: Using SSH keys is more secure than password authentication.
Launch Instance
Click the Launch Instance button at the bottom of the form to create your instance.
💡 Note: Your instance will begin launching and will be available in a few moments.
Access Your Instance
Once active, you can access your instance via:
SSH Access
Secure Shell access using your credentials or SSH key
VNC Console
Browser-based console access from the control panel